How to host PHP and MySQL website

So yeah, you have built a website with HTML, CSS, and PHP which is also connected to a MySQL database but it is just sitting on your PC even though you wish to deploy and show it to your friends.
In this article, there will be a detailed step-by-step procedure on how to host your PHP and MySQL websites for free.
Our sample project will be a simple PHP project that allows users to create accounts, log in and log out.
Get the sample project here Simple Login and Logout PHP project. You can clone or download the zip file to your local system.
CREATE ACCOUNT AND SET UP DOMAIN
In this tutorial, we'll be making use of infinity free to set up and host our website.
InfinityFree is a platform that offers free web hosting with impressive marketing of unlimited disk space, bandwidth, and domain hosting. This means you can host as many files as you want on your account server, have as many users visit your site as you want, and have as many primary web addresses as you want.
Navigate to InfinityFree website
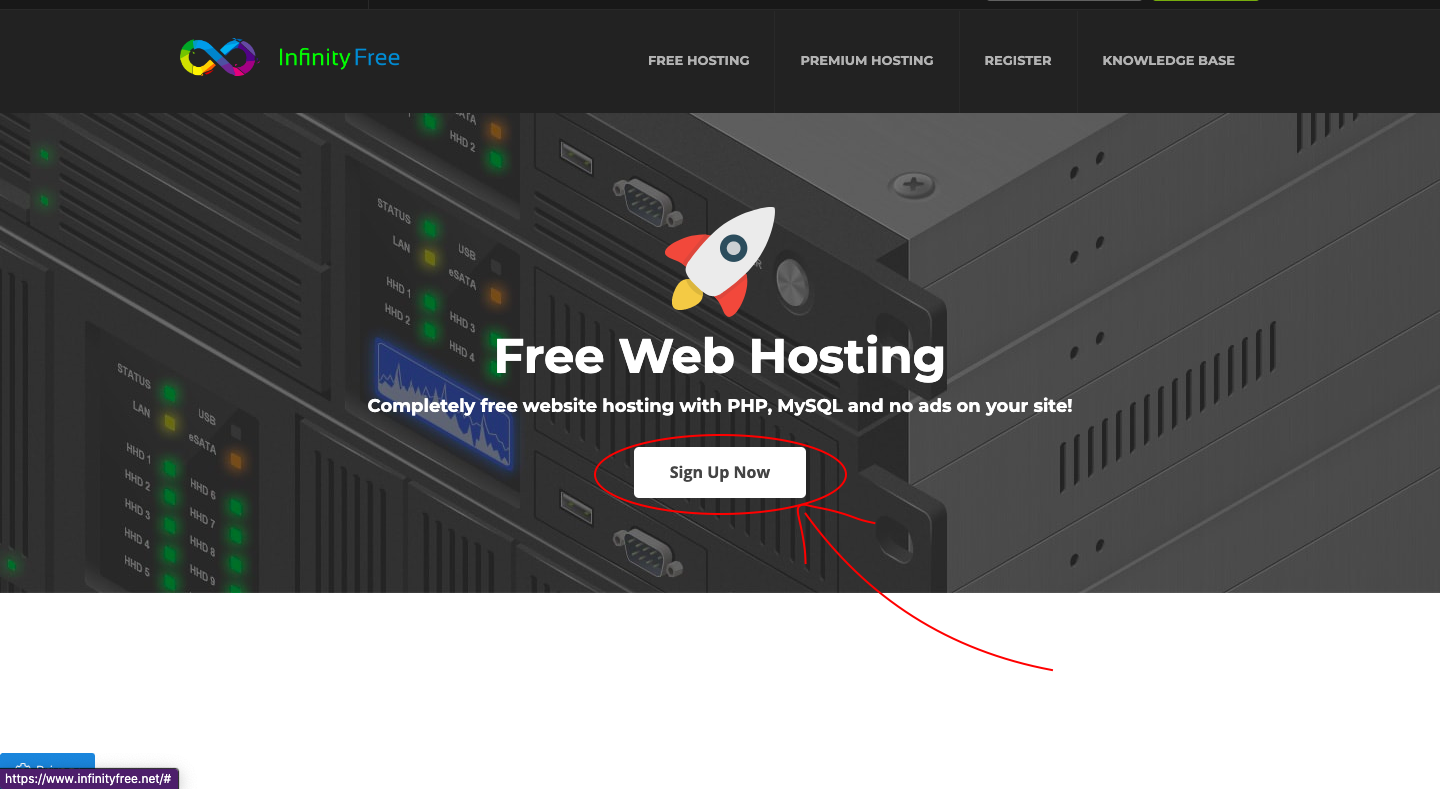
Click on sign up to create an account, and follow the steps to create an account until you get here 👇

Upon getting here, InfinityFree sends a verification message to your Gmail, which looks like below
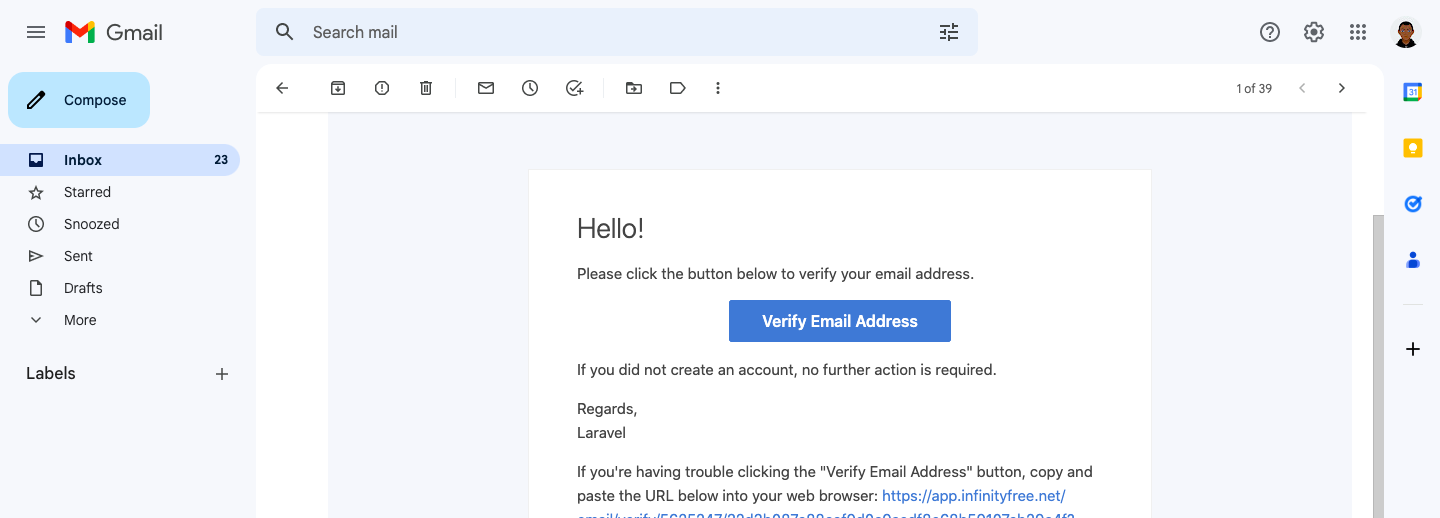
Click the big "Verify Email Address" button and it should take you to your InfinityFree account page as shown below.
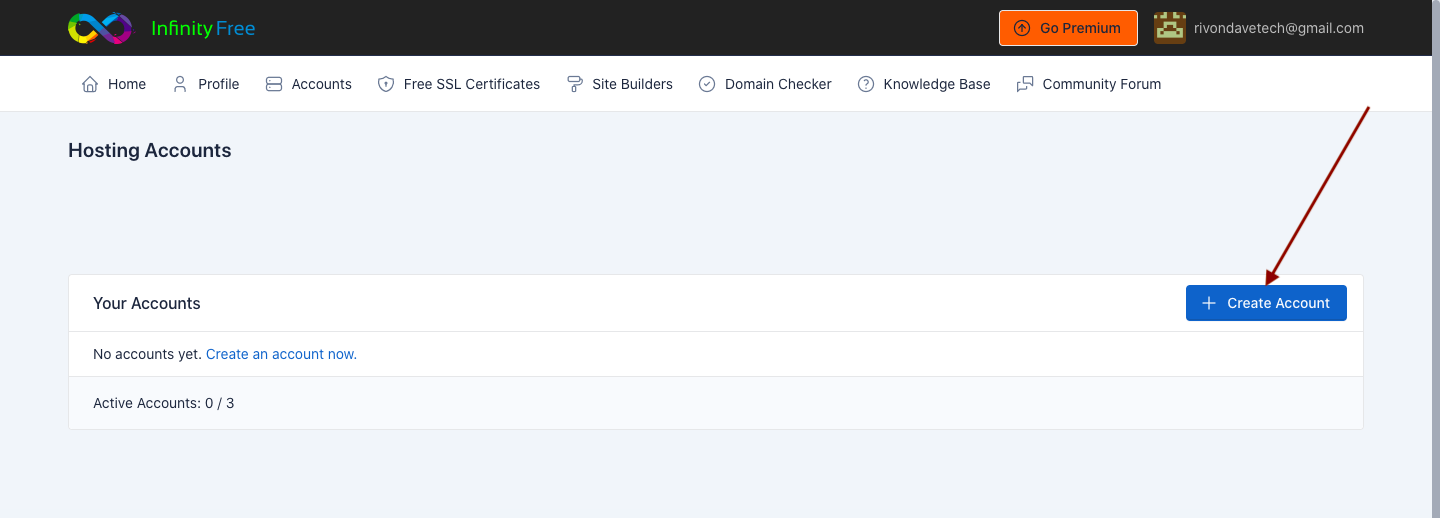
Click on the Create Account button as indicated above, you should get here 👇
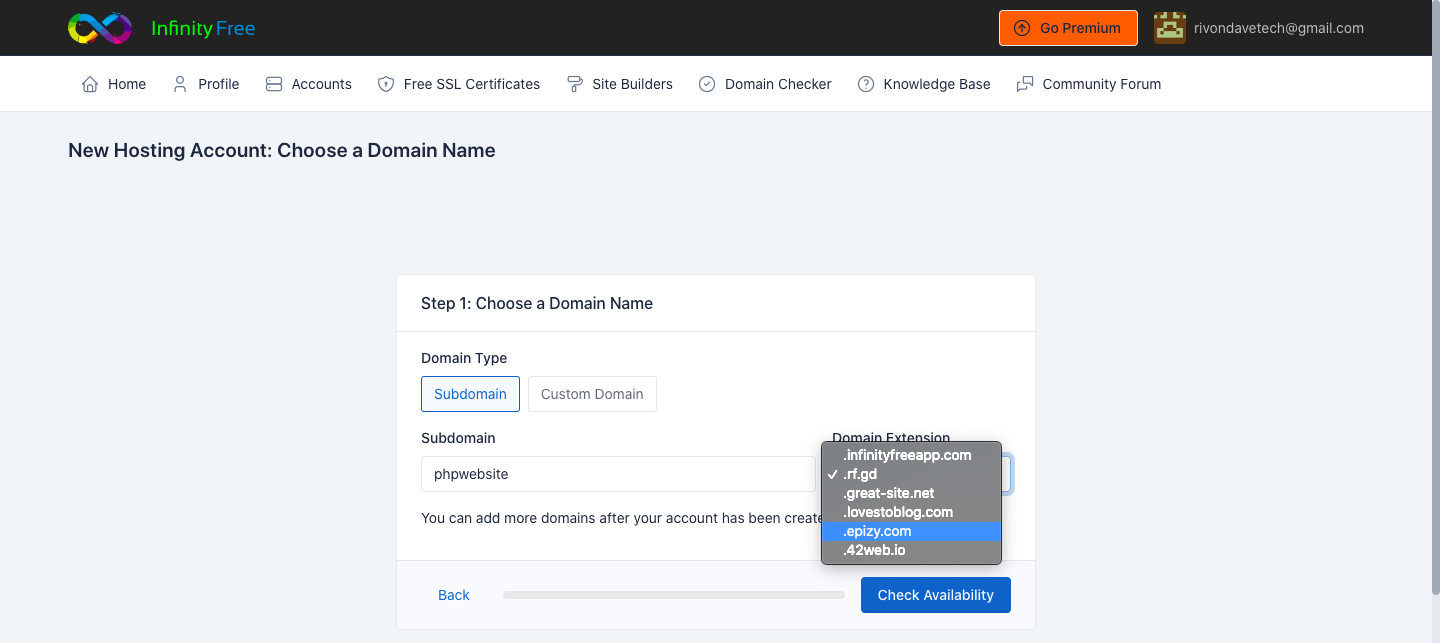
Type in your website name in the field as shown above and select ".epizy.com" from the list of domain extensions.
Note that, the manner of your website URL will be your_website_name.epizy.com
Next, click "Check Availability", this checks to avoid naming conflicts.
If successful, it displays as below,
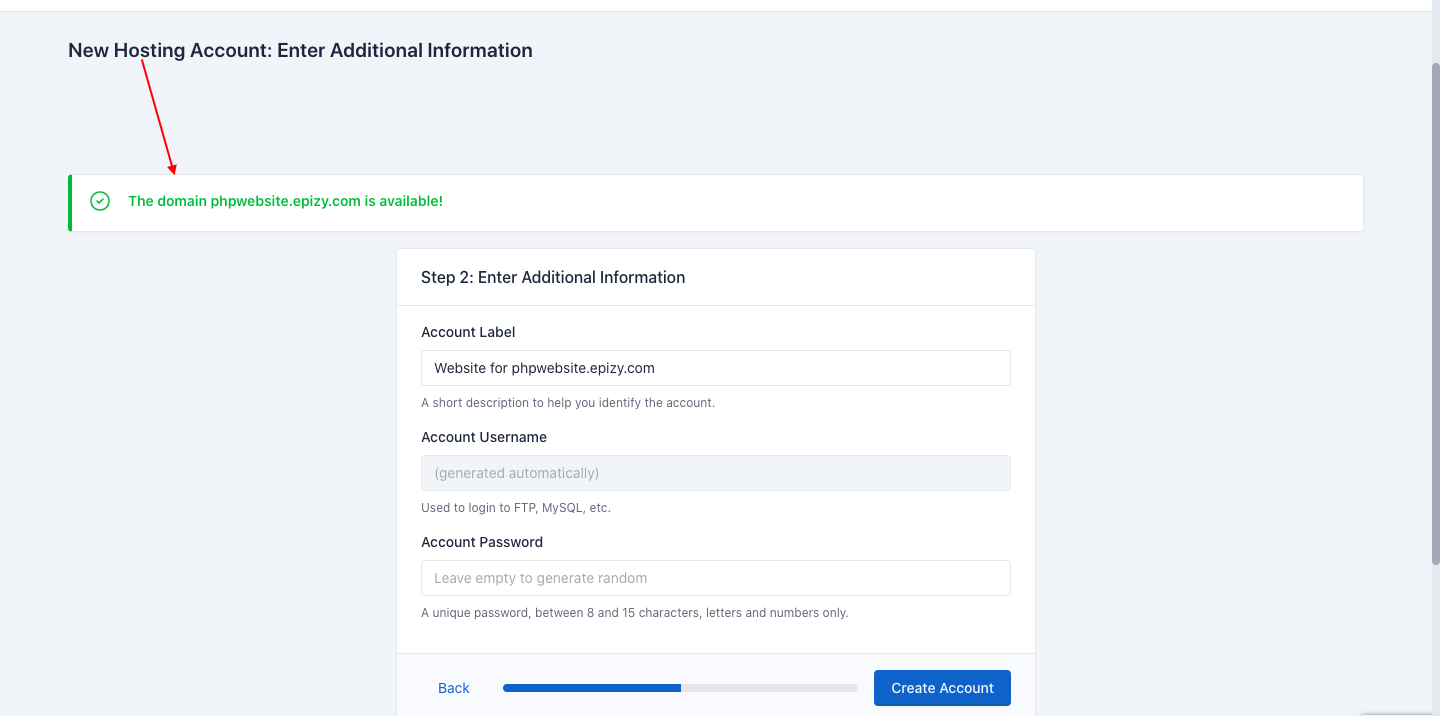
Next, enter a password for your website account and click Create Account, after that, you get here 👇

Click on Finish and the page navigates to your website account as shown below 👇, ensure to refresh the page.
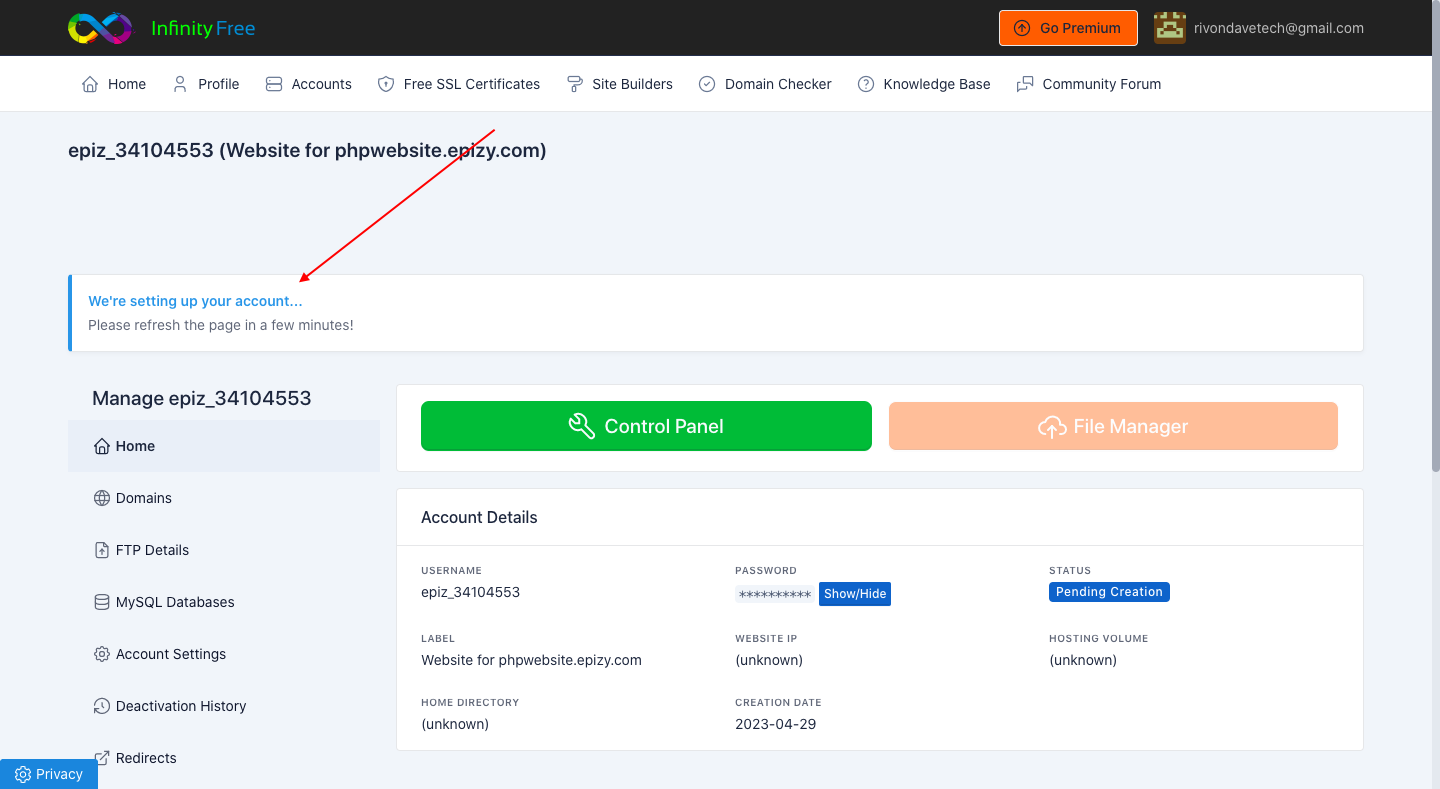
Upon refreshing 👇

UPLOAD ALL WEBSITE FILES
Now, we have created our account and set up a domain name, now we have to upload our files. To do that, click file manager as shown in the image below

The browser opens a new tab and navigates to the file manager section as shown below

Open the "htdocs" folder as shown in the image above, you should get here 👇

First, we delete the files we met there, to do that, right-click on the file and select delete. See the below image for more clarification

Next, click on the upload button,then, upload file, as shown below
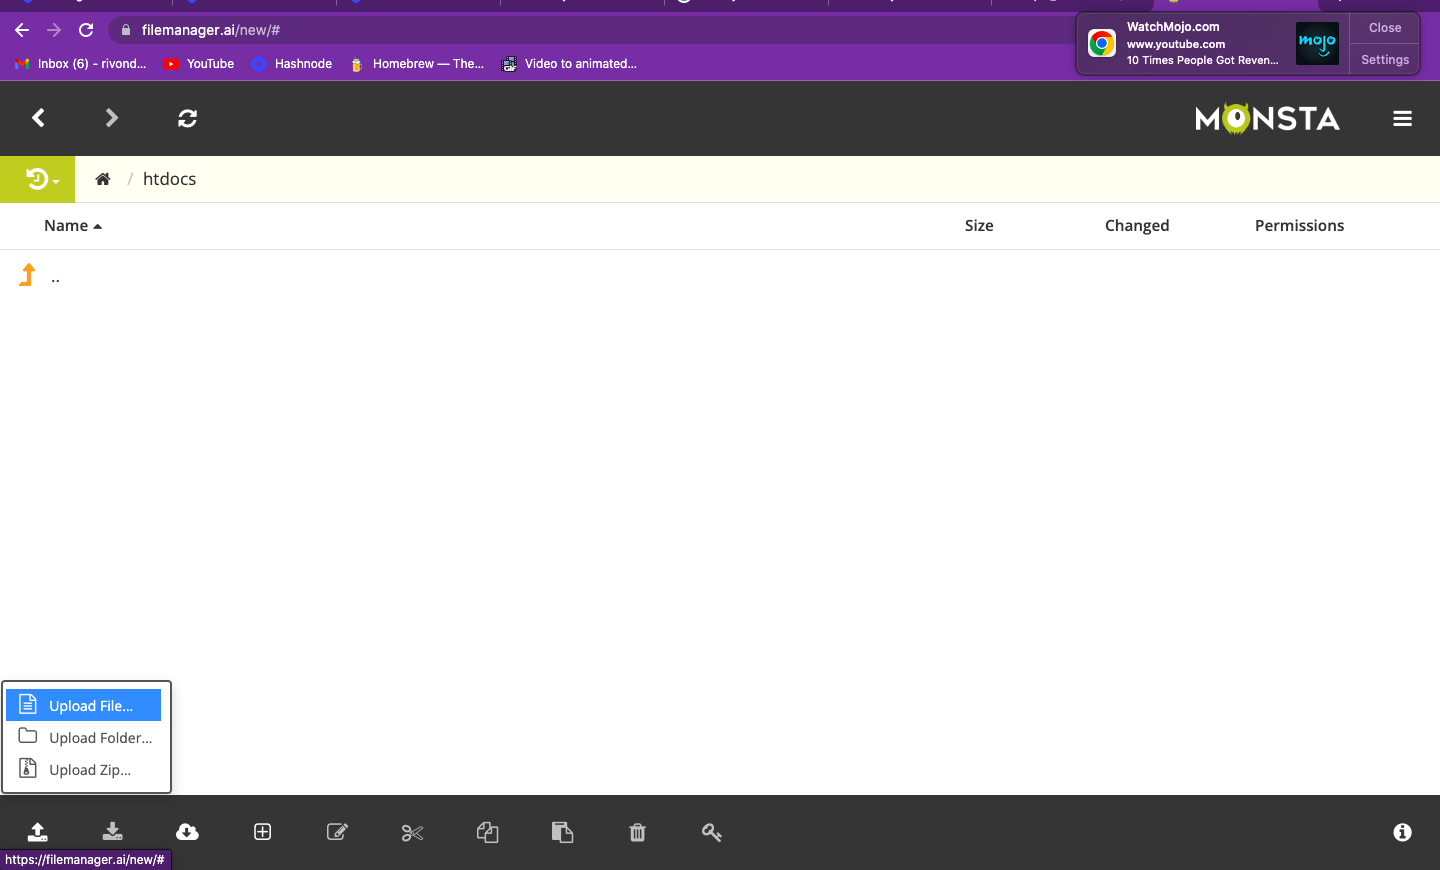
This opens up the system's file manager, select the website files you want to upload.
When uploading, ensure that the default file which runs first should be named "index.php" or "index.html"
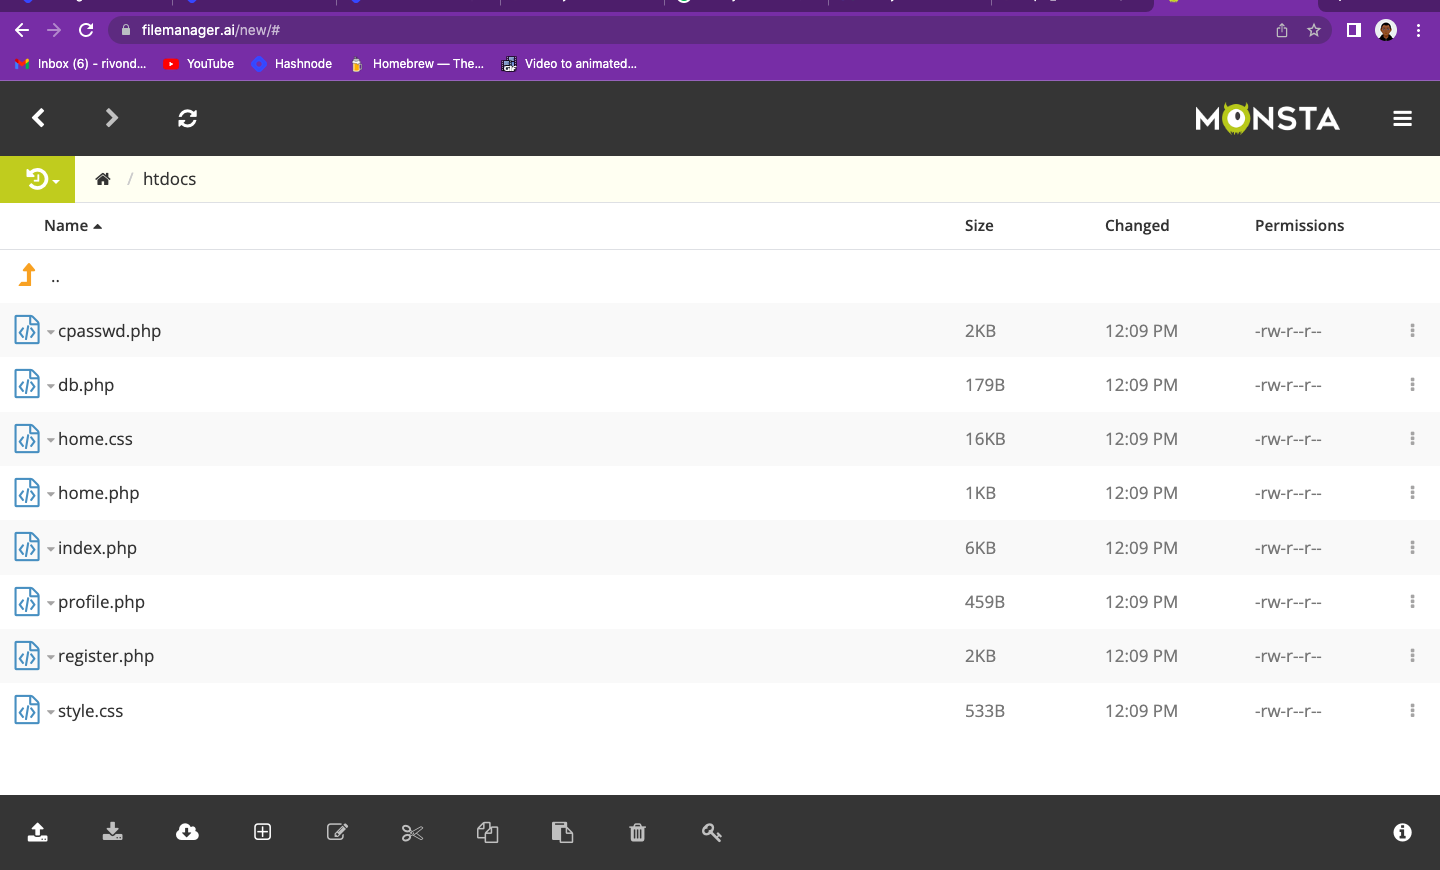
In my case, the login file is what should run first, so I named it index.php

After uploading, your InfityFree file manager should look like the one below.
CREATE AND CONNECT MySQL DATABASE
Navigate back to your account page.
P.S It will not be closed, because the file manager opens in a new tab

Click on MySQL database as shown above, you should get here 👇

As seen above, you can see your MySQL username, password and hostname the only thing left is to create a database.
To do that, click on the Create Database button shown above.

Next, enter the database name and create the database, Now, your MySQL tab should look as the below.
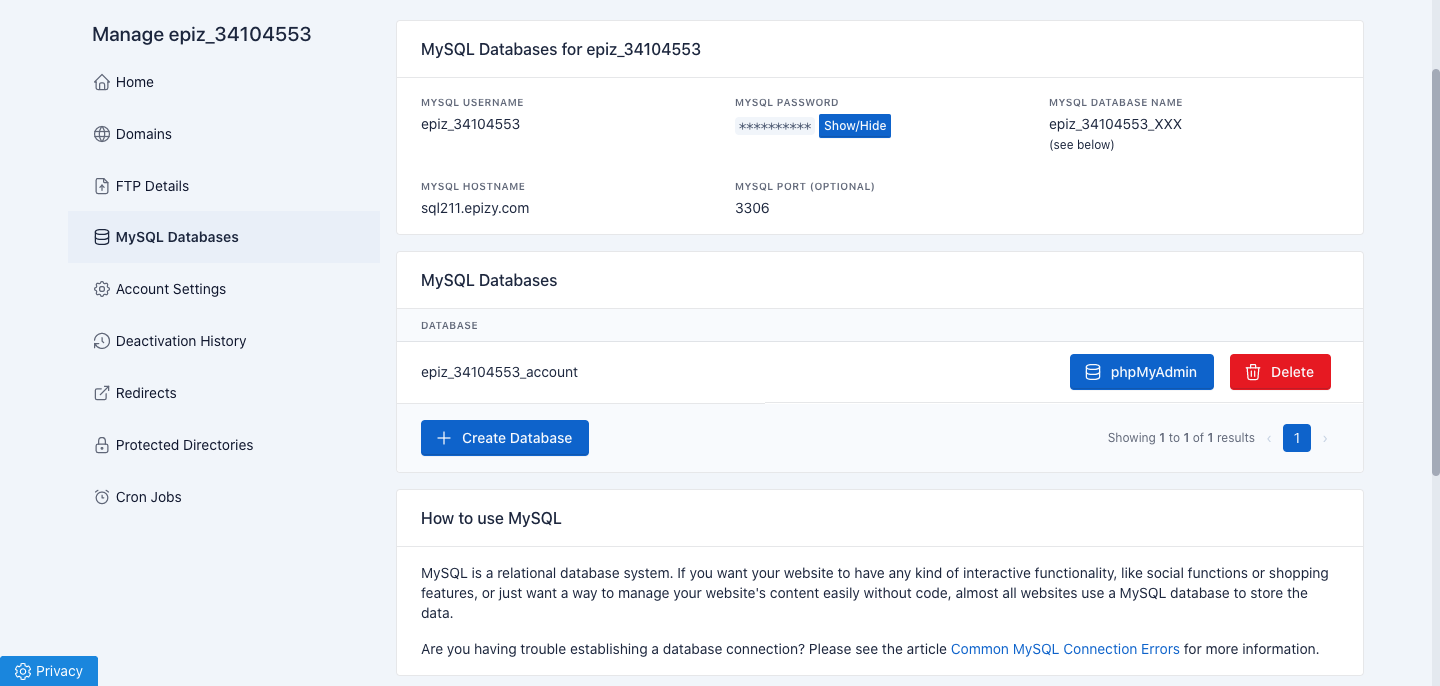
So, now we have all our MySQL information
Copy them somewhere e.g. a text file.
In this case;
hostname - sql211.epizy.com
username - epiz_34104553
password - click the show button to view your password
database - epiz_34104553_account
Next, go to your connection file i.e. the file where you connected your PHP website to MySQL. Mine is db.php
Click on file manager and navigate to your files as shown earlier and open your connection file by simply right-clicking and selecting Edit.
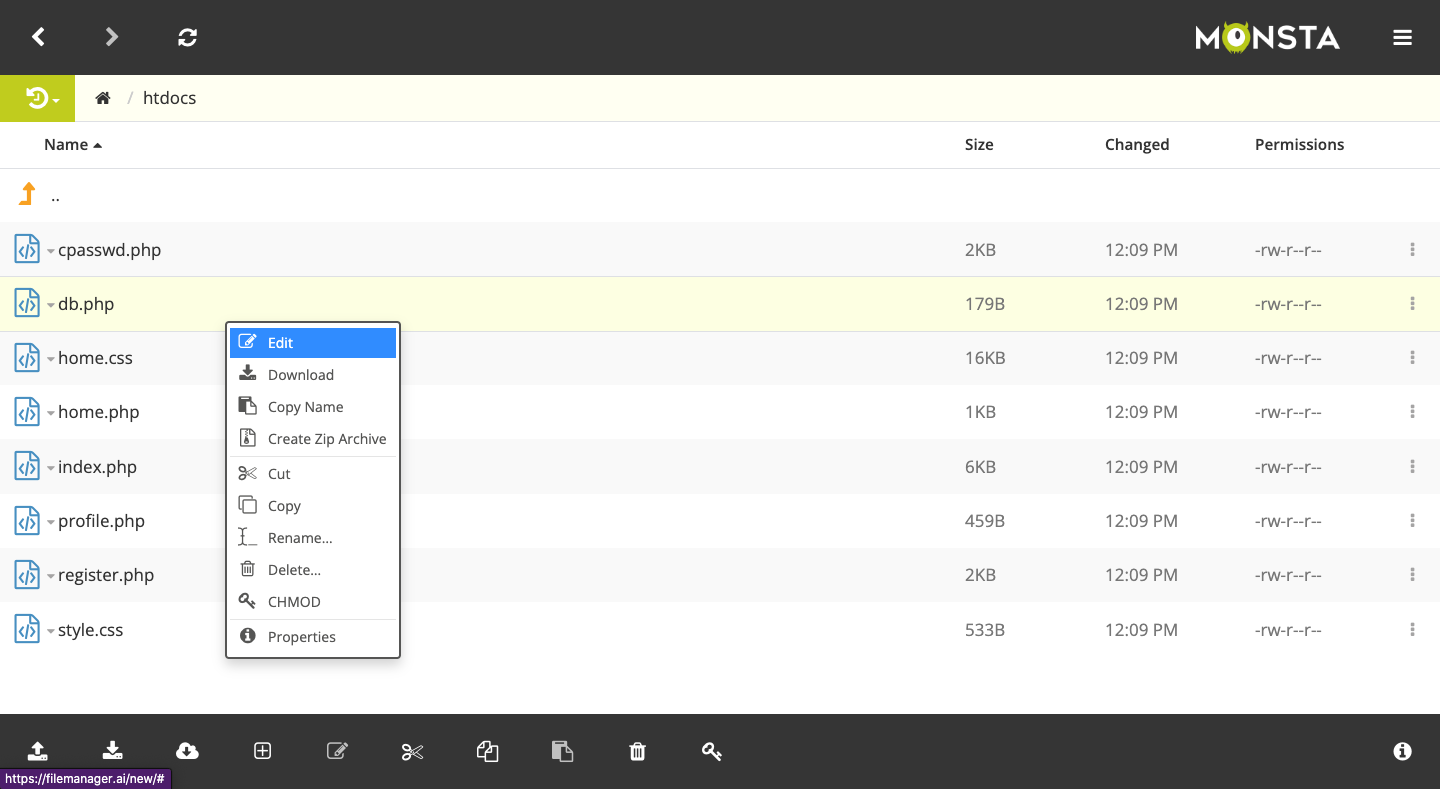
Now our file is open, edit the parameters for connecting to the database.
Then click save as indicated below.

INSERT OUR QUERIES
Now that we have our database all working, we need to insert our already created queries. We can simply just copy and paste our already written queries for the project.
Navigate back to the MySQL tab and click on PhpMyAdmin, see the below image for better clarification.

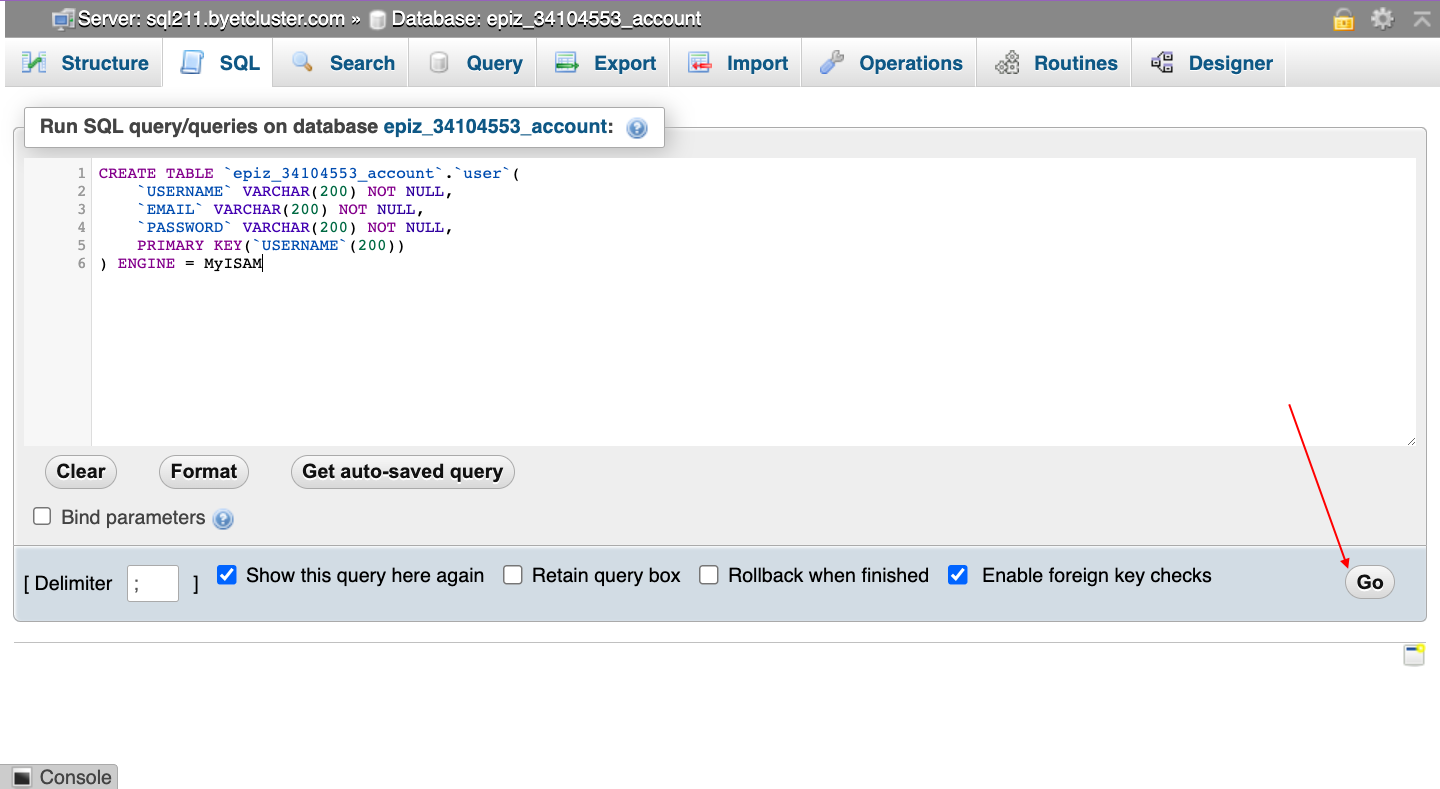
You should get here 👇, click on the SQL tab as shown below

Input your saved queries, to create your tables, and insert your values.
The sample project happens to have just one table with 3 columns and no values. When users create an account, values will be inserted.
Click Go and it will be executed.
VIEW OUR WEBSITE
Navigate back to the accounts page and click on the domain tab.

Next, you should see your website link, as shown below.
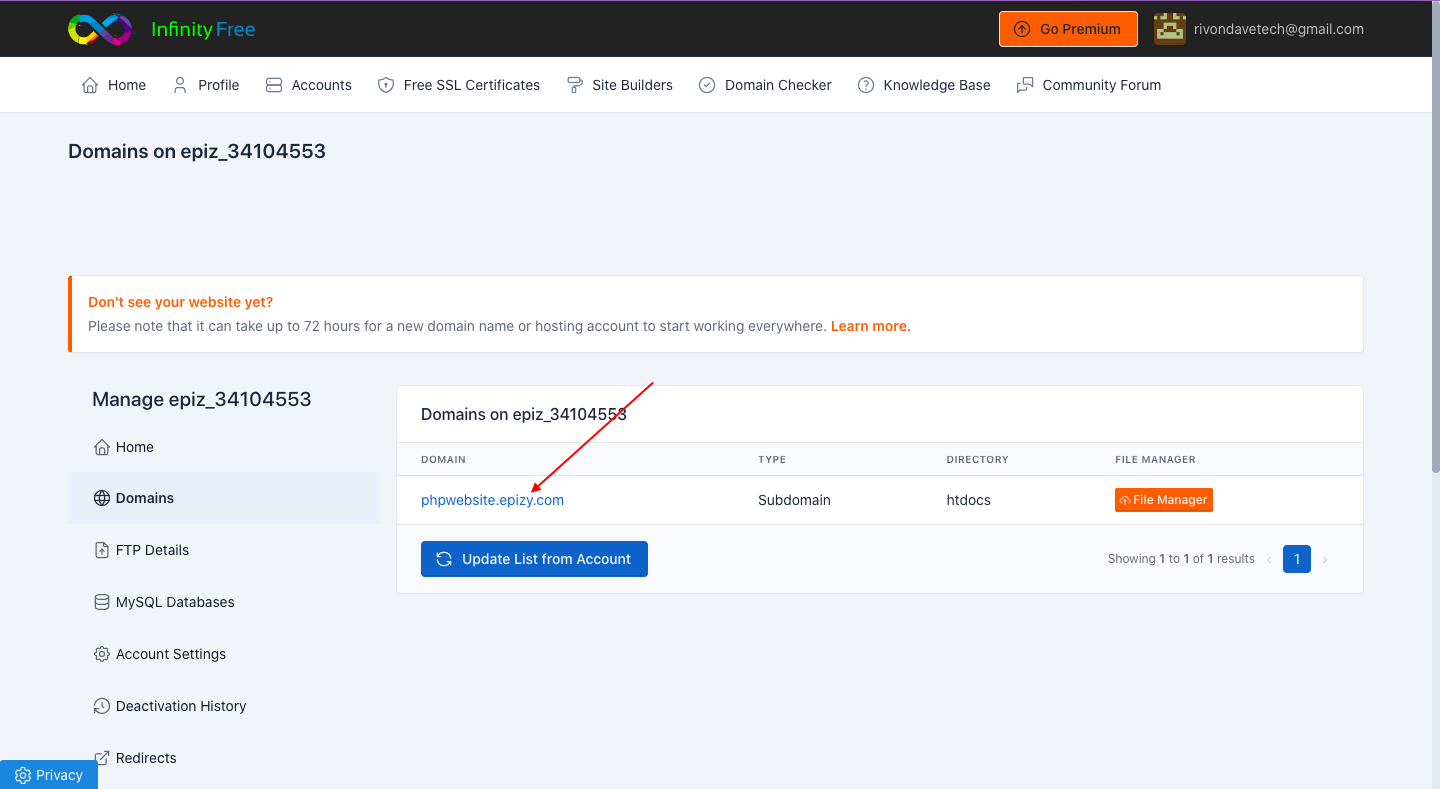
Click the link and you have successfully hosted your site.

Did you enjoy the above article? like, comment, share and follow for more content.
Made with ❤️ from rivondave


