Building your First Flask Application with python


Python(Flask) is a python framework used to create the backend functionalities of a website. It is a simple framework for building complex web applications. Flask is a lightweight WSGI web application framework. It began as a simple wrapper around Werkzeug and Jinja and has become one of the most popular Python web application frameworks.
PREREQUISITES
An IDE for coding (VsCode, Notepad++, Pycharm etc.), basic knowledge of programming and web development fundamentals including HTML, CSS and Python.
INSTALLING DEPENDENCIES
Dependencies are the tools, languages and libraries needed for our projects. The entire process will take about 10-20 minutes, the steps are as follows;
Python
Flask is a python framework, so we need to install python for it to work, to install python, we go to the Python website.
Click on the download section, it navigates to the download page.
Depending on your Operating System (Windows, Linux, Mac or Other) download python. This should take us to a page of all the different/latest versions of python.
P.S (I am using MacOS)
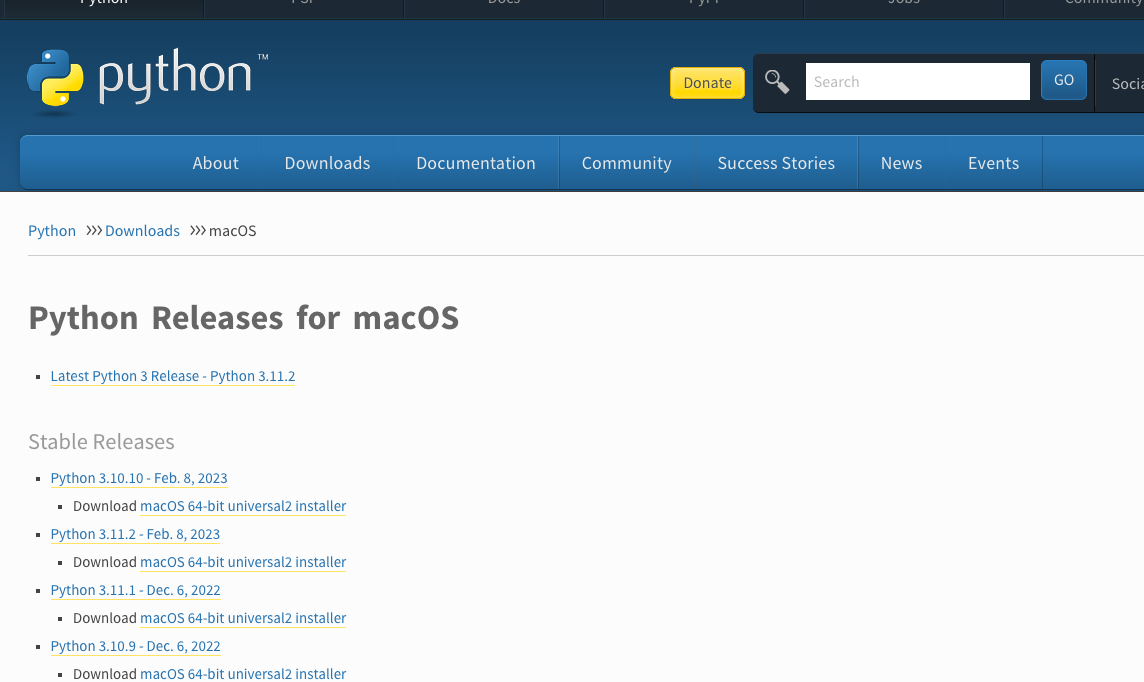
It is advisable to always install the latest version available. Simply click on the download link under any of the python versions you choose to install. After this, your download should start.

After downloading, open the downloaded file in your finder for mac and file explorer for windows.
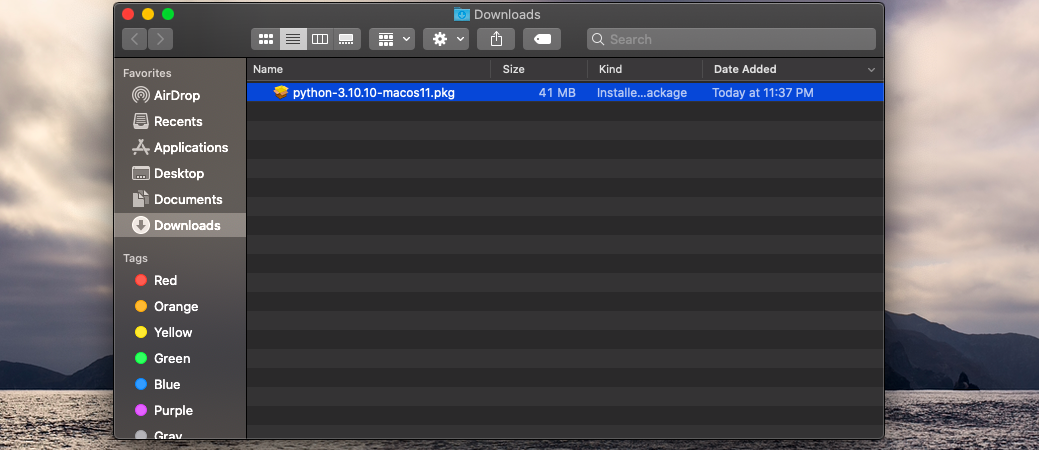
Double-click on the file, and it should install, after installation, we can run a confirmed check of python.
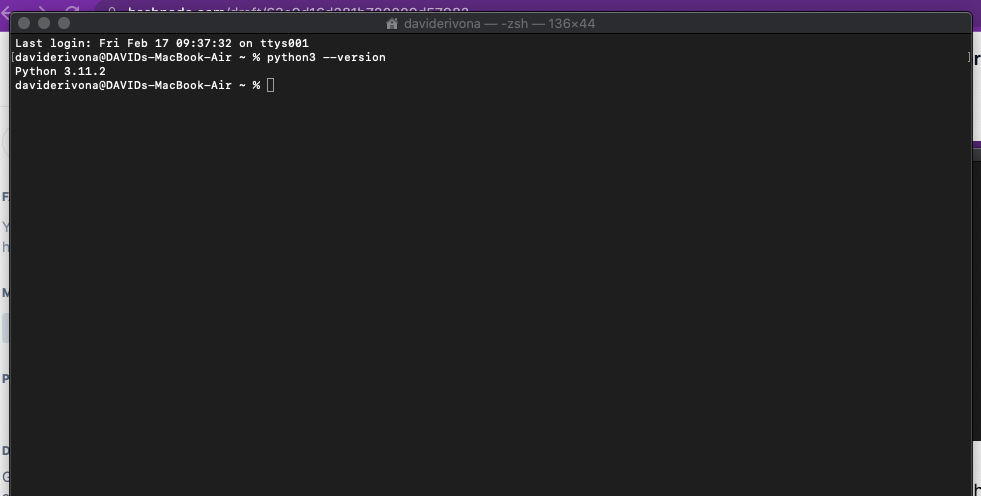
Open your command line interface cmd for windows and terminal for macOS.

Type the following command python3 --version, if your python was installed correctly it should produce your version;
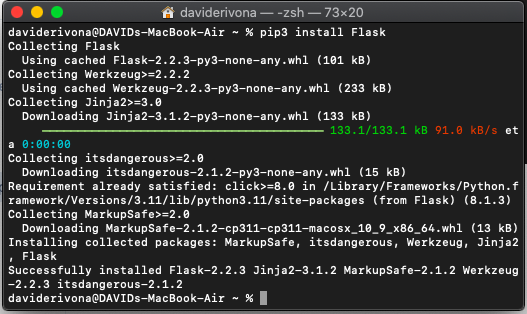
Flask
Let's install the flask framework; To do that we type the following command in our terminal/cmd pip3 install Flask
TextEditor / IDE
Skip this part if you already have a text editor
We can make use of any text editor but in this tutorial, we will be installing vscode. To do that, type Download vscode in your web browser;
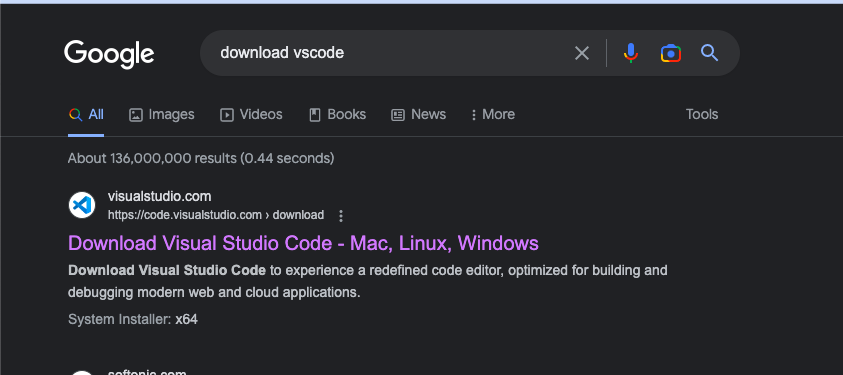
Click the first link;

Download vscode based on your OS.
"and that should be all for the dependencies"

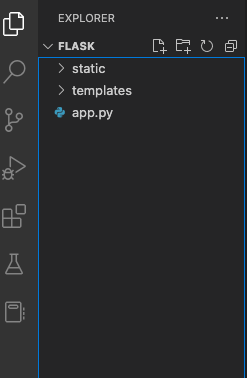
CREATE DIRECTORIES
So, now let's create our directories
Create a folder named
Flask
Create two folders
templatesandstaticand one fileapp.pyinsideFlask
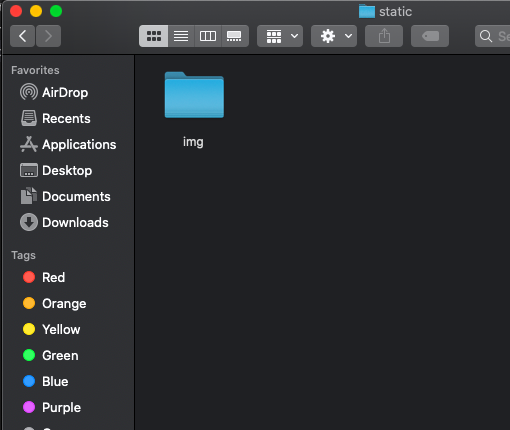
Create a folder called
imginsidestatic
Next is to open our flask project inside our text/editor (in this case vscode). We can do that in two ways;
Right-click on our flask folder and click open with vscode OR
Open our vscode, navigate to the file tab, click open folder and locate our flask folder.
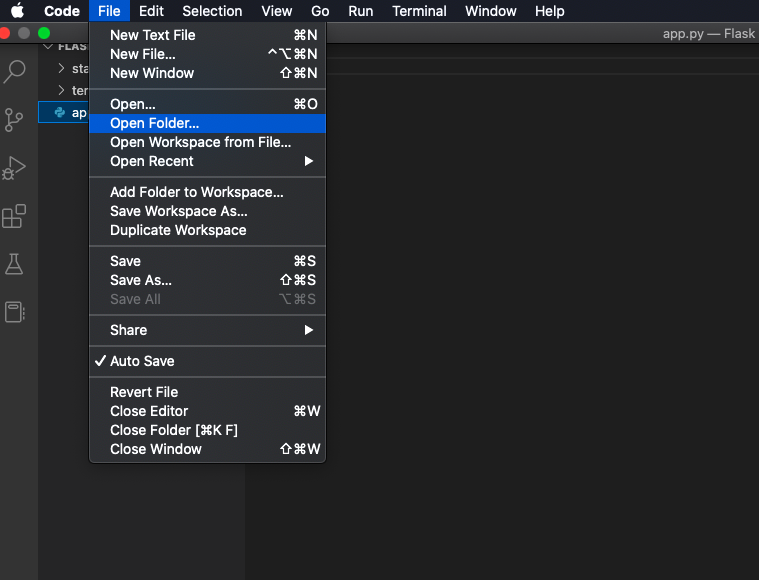
Below is how your directory should look in your vscode;
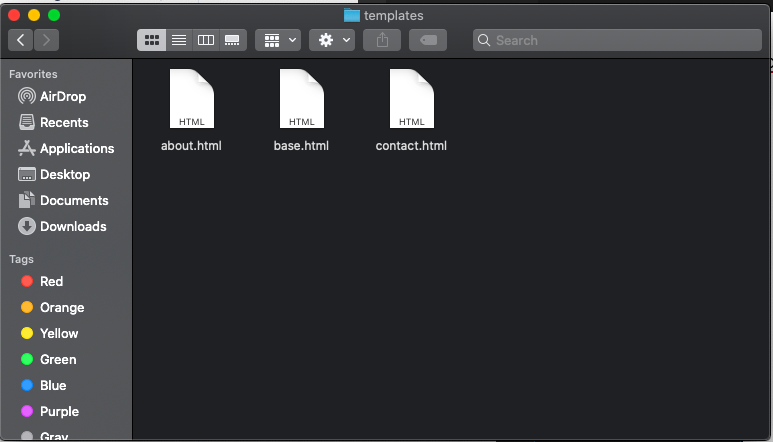
CREATE WEB PAGES
Inside your templates folder create three(3) HTML pages;base.html, home.html, about.html and contact.html
N.B: This is not a frontend tutorial;
"and that should be all for the directories"

BUILD FLASK APPLICATION
When building a python related application, the first thing to do is to import needed libraries;
Now, we open the app.py file and import our libraries
from flask import Flask, render_template
Next, we initialize our Flask library and put the location to our web pages.
app = Flask(__name__,template_folder='templates')
Next, we put the following code
if __name__ == '__main__':
    app.run(debug=True)
The above code allows our app to execute our code while the file runs as a script. Let's think of it as a way to store code that only runs when our file is executed as a script.
"debug=True" is to allow for editing/manipulation of our code while the code still runs without stopping. Setting it to False means that while your code is running and you make changes your code stops running.
Our app.file should look as below
from flask import Flask, render_template

app = Flask(__name__,template_folder='templates')


if __name__ == '__main__':
    app.run(debug=True)
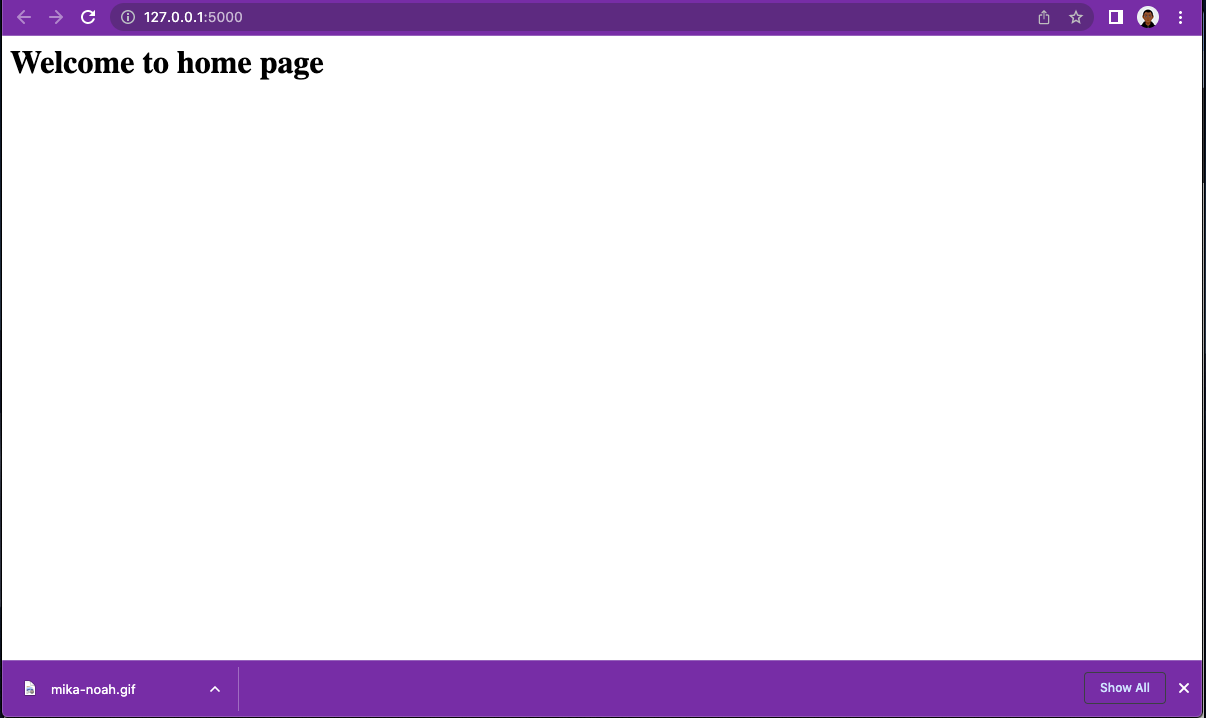
Next, move to the run tab, and click on run without debugging;

This should pop up in our terminal which would contain a localhost link, it is usually http://127.0.0.1:5000

You can either copy and paste the link in your browser or hold your ctrl key(windows) or cmd(MacBook), move your cursor to the link and click.
Your browser should look like this;


Now, let's connect our web pages;
Copy and paste the following code into our index.html file;
<h1>Welcome to home page</h1>
Copy and paste the following code into our about.html file;
<h1>Welcome to about page</h1>
Copy and paste the following code into our contact.html file;
<h1>Welcome to contact page</h1>
Now, let's link our web pages to our flask app;
Copy and paste the following code into our app.py file, before
if __name__ == '__main__':
app.run(debug=True)
@app.route('/')
def home():
    return render_template('index.html')

@app.route('/about')
def about():
    return render_template('about.html')

@app.route('/contact')
def contact():
    return render_template('contact.html')
In the above line of code;
render_template is a function located in the flask library used to generate output from a template file based on the Jinja2 engine that is found in the application's templates folder.
@app.route('/') means that http://127.0.0.1:5000/ will move to our index.html page because the function below it returns to that page.
N.B A flask application cannot do without @app.route('/') because http://127.0.0.1:5000/ and http://127.0.0.1:5000 are the same thing and render the same page also known as the default page.
The default page is the page where our flask directs to upon execution.
@app.route('/about') means that http://127.0.0.1:5000/about will only move to our about.html page because the function below it returns to that page.
@app.route('/contact') means that http://127.0.0.1:5000/contact will move to our contact.html page because the function below it returns to that page.
Now, let's execute our code, upon execution your browser should look like this;
To check other pages (about and contact), simply edit the URL to /about or /contact
About page

Contact page

Congratulations if you have gotten to this level;

ADD OTHER FEATURES
When building a normal website with multiple pages, one would have to duplicate the navbar and footer for each page.
Flask allows us to use one navbar and footer for as many web pages as we want to create, amazing! isn't it?. Also known as routing.

So open our base.html file and paste the following code;
<!DOCTYPE html>
<html lang="en">
<head>
    <meta charset="UTF-8">
    <meta http-equiv="X-UA-Compatible" content="IE=edge">
    <meta name="viewport" content="width=device-width, initial-scale=1.0">
    <link rel="stylesheet" href="https://cdn.jsdelivr.net/npm/bootstrap@5.2.3/dist/css/bootstrap.min.css" integrity="sha384-rbsA2VBKQhggwzxH7pPCaAqO46MgnOM80zW1RWuH61DGLwZJEdK2Kadq2F9CUG65" crossorigin="anonymous">
    <title>Homepage</title>
</head>
<body>

    <nav class="navbar navbar-expand-lg navbar-light bg-light">
        <a class="navbar-brand" href="#">Navbar</a>
        <button class="navbar-toggler" type="button" data-toggle="collapse" data-target="#navbarNav" aria-controls="navbarNav" aria-expanded="false" aria-label="Toggle navigation">
          <span class="navbar-toggler-icon"></span>
        </button>
        <div class="collapse navbar-collapse" id="navbarNav">
          <ul class="navbar-nav">
            <li class="nav-item active">
              <a class="nav-link" href="/">Home <span class="sr-only">(current)</span></a>
            </li>
            <li class="nav-item">
              <a class="nav-link" href="/about">About</a>
            </li>
            <li class="nav-item">
              <a class="nav-link" href="/contact">Contact</a>
            </li>
          </ul>
        </div>
      </nav>

</body>
</html>
Our base.html file contains our navbar which is linked to all pages.
Looking closely at each of the links, we see that the reference href is set to the route values we created earlier in our app.py files.
So now, let us connect our web pages to the navbar.
Flask allows us to write python scripts inside HTML files.
We use {% block content %} {% endblock %} ;
where {%%} is used to write python conditions and statements in HTML files,
block is the condition name, it could be if,while condition
content is the name/identifier given to the block condition so it can be accessed among other files. It can be any name.
Copy and paste the following code into our base.html file;
put it outside the nav tag but inside the body tag;
{% block content %}{% endblock %}
Your base.html file should look like this;

After this, let's edit our index.html, about.html and contact.html files as follows;
index.html
{% extends 'base.html' %}
{% block content %}
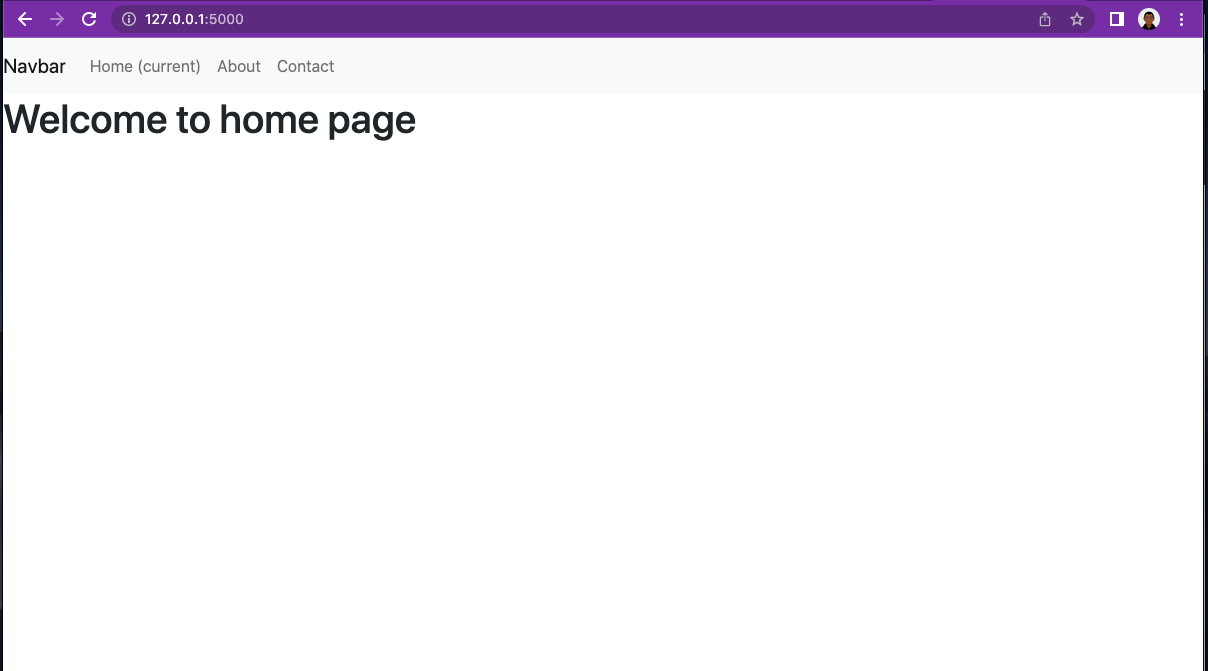
<h1>Welcome to home page</h1>
{% endblock %}
about.html
{% extends 'base.html' %}
{% block content %}
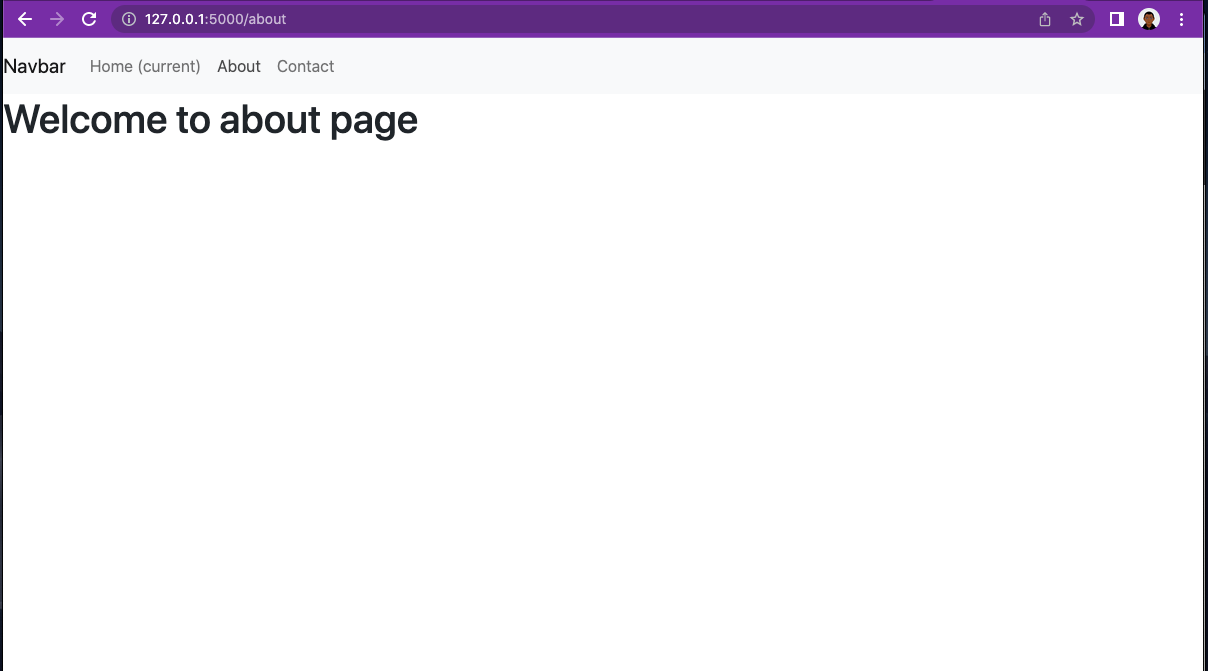
<h1>Welcome to about page</h1>
{% endblock %}
contact.html
{% extends 'base.html' %}
{% block content %}
<h1>Welcome to contact page</h1>
{% endblock %}
The extends tag above extends every single content on the base.html file into each file that contains the statement {% extends 'base.html' %}
As mentioned above, the block which we named content is being accessed by our HTML files as seen above.
The content placed in between {% block content %} {% endblock %} in any of our HTML files index.html, about.html, contact.html overwrites any other content placed in our base.html file.
So upon execution;
INDEX PAGE
ABOUT PAGE
CONTACT PAGE

And you have successfully built your first flask application.
Congratulations.

Get the source code here
Ensure to like and comment if you found this useful😊
Thanks.


